Hi Guys. This a review and disassembly of the F4001 (and F3001) radio by Icom America, Inc. I posted this tech review on my blog but wanted to share it with those of you who may be on the fence about the Icom radios. I would definitely recommend this radio over the RDU and RDV series by Motorola.
Icom IC-F4001 | IC-F3001 Radio: What’s Inside, Disassembly, and Tech Review
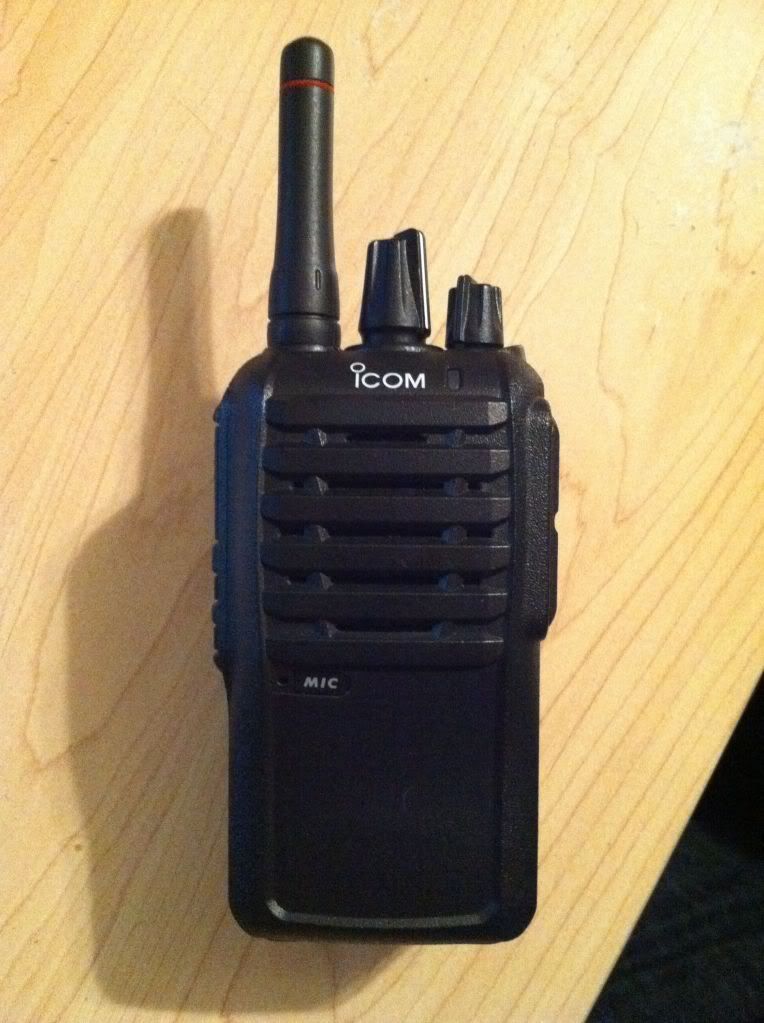
Only a little more than a year ago Icom America, Inc. released a new, easy to use, portable radio in the business industry and commercial market. The Icom IC-F4001 (UHF) or F3001 (VHF) is similar to it’s siblings, most notably the Icom F4011/3011 but with a few exceptions. What makes this radio great is the addition of MDC, 2-tone, and 5-tone signalling which puts it in direct competition with the Motorola CP200 as the standard for basic two-way radios. Add on a Lithium Ion battery and low-profile antenna and you have yourself a winner! Lookout BPR40, TK3302, and CP200 there are waves being made!
With any new radio I like to take a look at what’s “under the hood” since beauty doesn’t mean much when we are talking about two-way radios. A dependable, quality crafted radio is what both business and public safety industries rely on to carry out daily operations. These users need rugged, reliable equipment that puts function first, and form second (yet not forgotten).
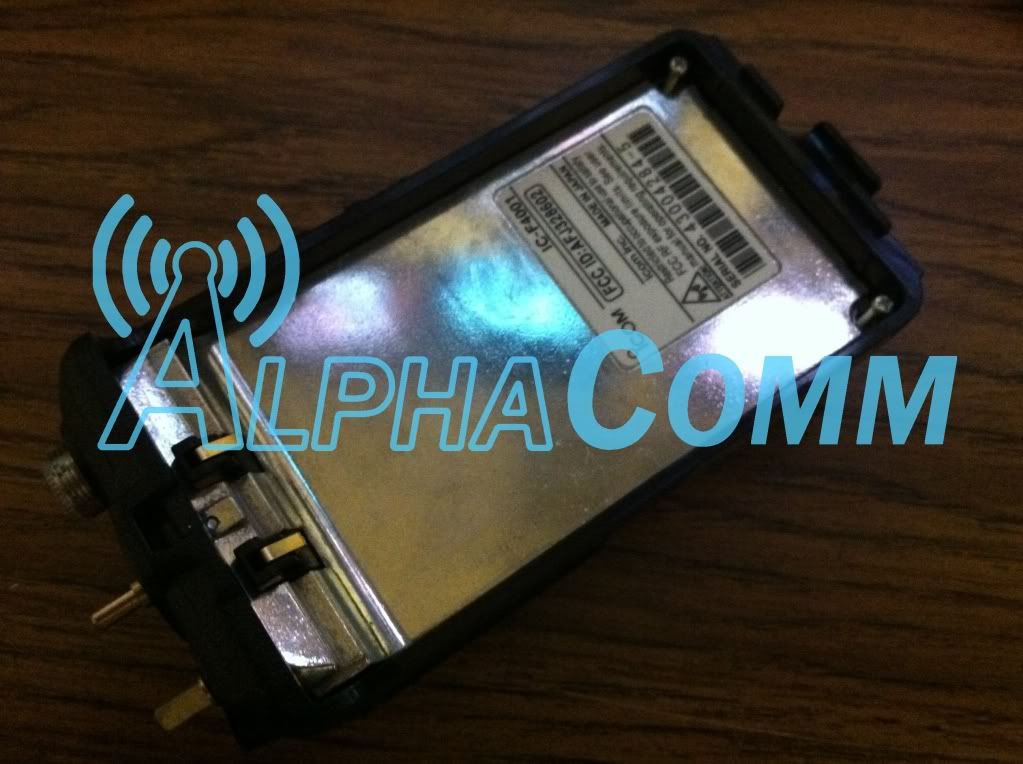
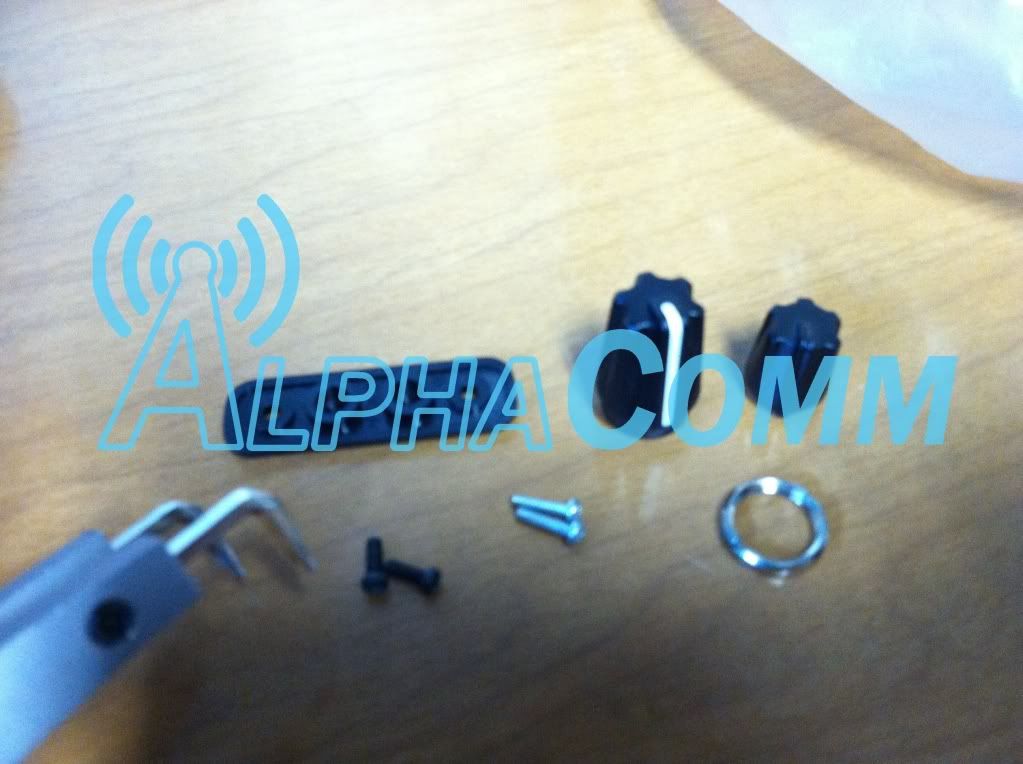
So let’s take a look inside this Icom portable radio! We start by removing all the knobs, side accessory cover, and battery. Behind the battery are two silver screws that need to be removed.
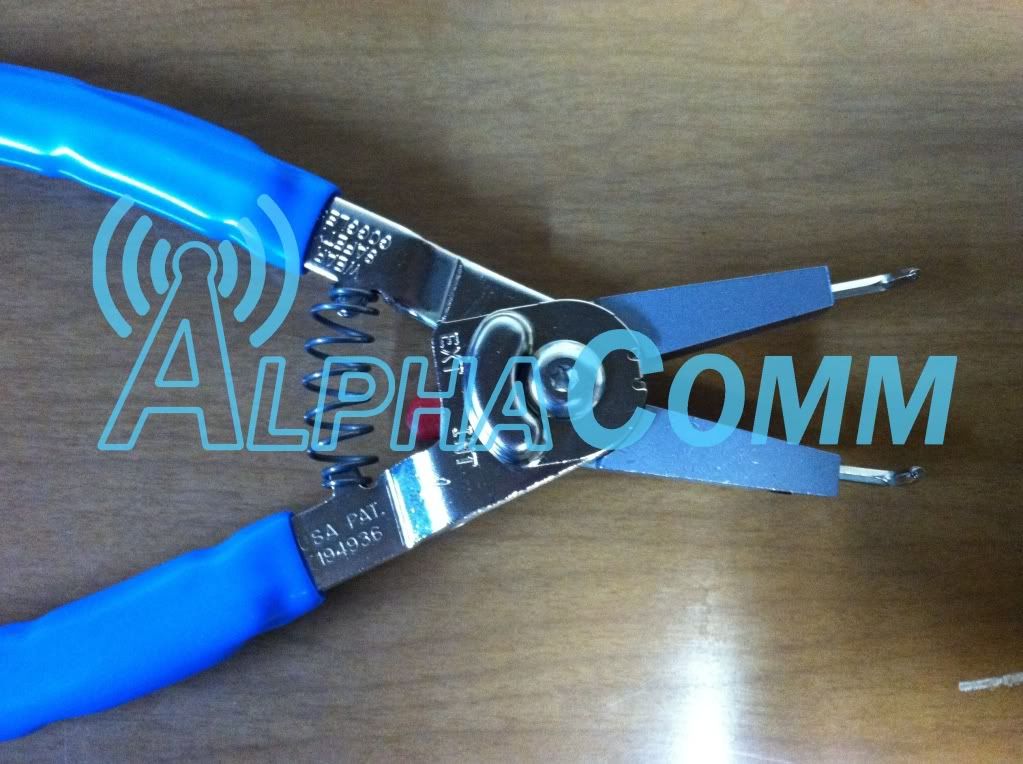
You will need a spanner wrench or funky looking pliers such as these to remove the nut from the threaded antenna shaft. There is a silver nut that has no edges but only two indents on opposite sides of the nut. You can use the pliers to catch the indents and twist counter-clockwise to loosen up the nut.
Yo can now use a small flat-head screwdriver to pry the bottom of the chassis out of the plastic housing. Pull down to clear the top channel/volume selectors and antenna shaft from the housing.


